Admin Panel Setup
After installation, your next step is to configure the core settings in the admin panel before you invite any members. This guide walks you through the essential setup steps.
Accessing the Admin Panel
Your admin panel is at: https://yourdomain.com/admin
The default path is admin. You can change it by setting TE_ADMIN_PATH in your .env file (recommended for security — see Security Hardening).
On first visit after installation, you will be prompted to create your administrator account. Choose a strong password.
Step 1: General Settings
Navigate to Settings → General in the admin panel.
| Setting | Description |
|---|---|
| Site Name | The name displayed throughout the site (also set via TE_APP_NAME in .env) |
| Support Email | Contact address shown to members |
| Timezone | Your site’s default timezone for scheduling |
| Site Status | Open (accepting members), Closed (registration disabled), or Maintenance (shows a maintenance page) |
| Logo | Upload your site logo |
Appearance
Under Settings → Appearance, you can: – Upload a custom logo – Select from available themes (additional themes can be installed via Theme Management) – Customise colors if supported by your active theme
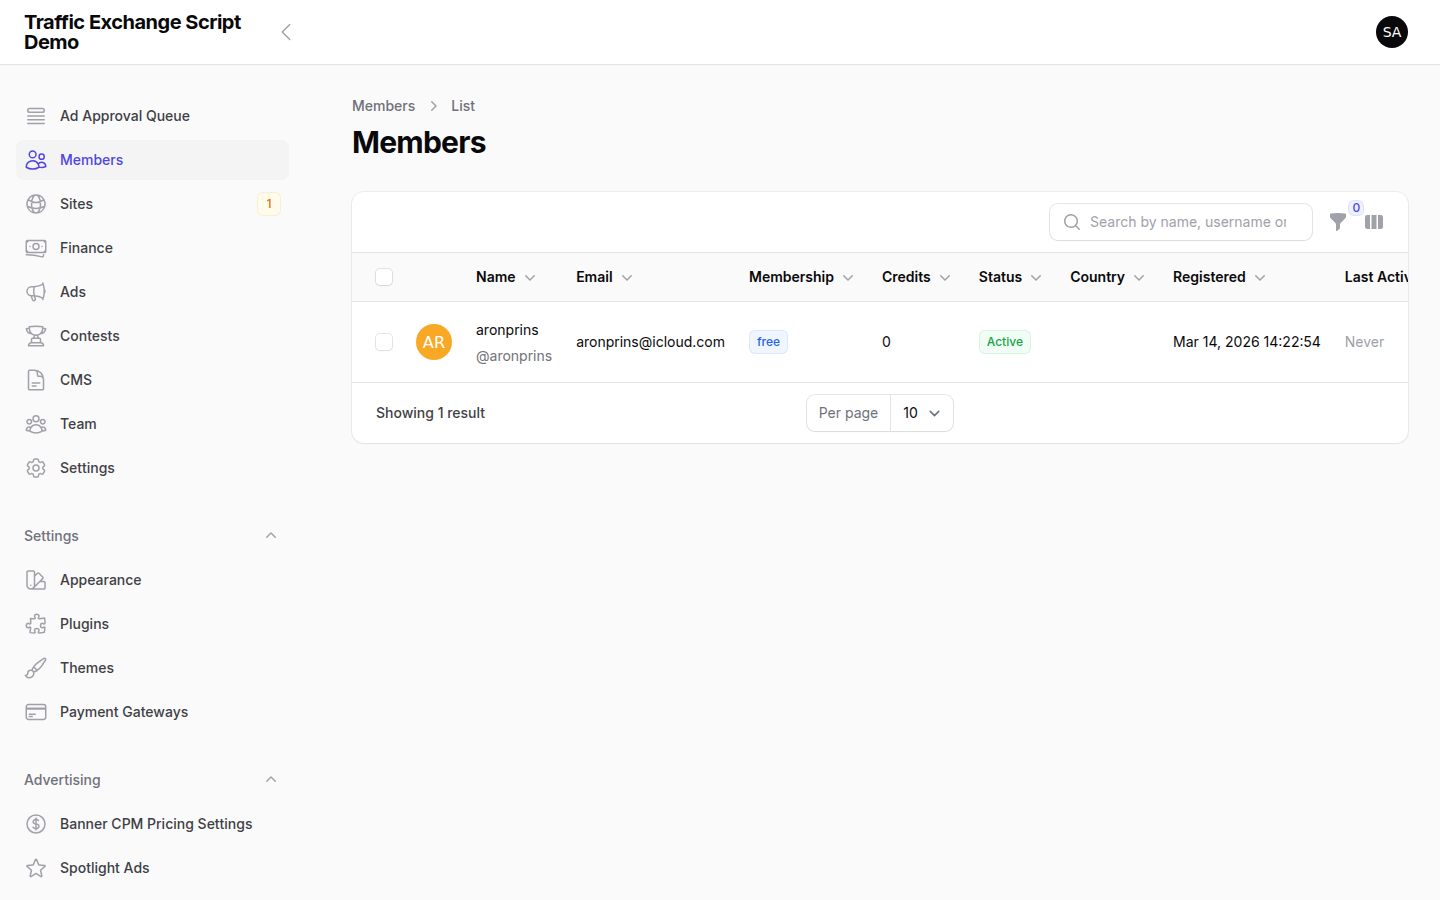
Step 2: Configure Membership Levels
Navigate to Members → Membership Levels.
The script ships with a default free membership level. You should review and configure it before adding paid tiers.
For each membership level, you can set:
- Name — e.g. “Free”, “Silver”, “Gold”, “Platinum”
- Price — monthly and/or annual price (0 for free)
- Billing cycle — monthly, quarterly, annual
- Surf credit ratio — how many credits members earn per site viewed (e.g. 1 credit per 2 sites)
- Ad allowances — how many banner ads, text ads, PTC ads members can run simultaneously
- Auto surf limits — daily and session limits for auto surf mode
- Feature access — which features are available at this tier
Recommended setup for a new site: 1. Keep the default Free tier with conservative credit ratios 2. Create a Silver or Pro tier with better ratios and higher ad limits 3. Optionally add a Gold or Premium tier as your top offering
See Membership Tiers & Billing for full details.
Step 3: Configure Payment Gateways
Navigate to Settings → Payment Gateways.
Enable the gateways you want to accept for membership payments and deposits.
PayPal
- Enable PayPal in the gateway settings.
- Enter your Client ID and Client Secret from your PayPal Developer account.
- Set your Webhook ID (from your PayPal app’s webhook configuration).
- Toggle Sandbox Mode on for testing, off for live payments.
- Set the webhook URL in your PayPal app to:
https://yourdomain.com/webhooks/paypal
Stripe
- Enable Stripe.
- Enter your Publishable Key and Secret Key from the Stripe dashboard.
- Enter your Webhook Secret (from Stripe → Developers → Webhooks).
- Set the webhook endpoint in Stripe to:
https://yourdomain.com/webhooks/stripe
Digital Product Marketplaces (JVZoo, WarriorPlus, ClickBank, Explodely)
These gateways are typically used for one-time license purchases that grant membership. Each requires:
– An API key and secret from the respective platform
– Setting the IPN/webhook URL to https://yourdomain.com/webhooks/{gateway} (replace {gateway} with jvzoo, warriorplus, clickbank, or explodely)
Internal Balance
Allows members to deposit funds to their account balance and use it for purchases. Configure the minimum deposit amount.
Commission Balance
Allows members to use earned commissions directly for purchases. Configure via the gateway settings.
Minimum Withdrawal Amount
Set the minimum withdrawal threshold under Settings → Withdrawals or via TE_MIN_WITHDRAWAL in .env (default: $5.00).
See Payment Processing for detailed gateway configuration.
Step 4: Configure Email (MAIL Settings)
Email is critical for member verification, password resets, newsletters, and payment notifications. Configure your mail settings in .env:
MAIL_MAILER=smtp
MAIL_HOST=smtp.yourprovider.com
MAIL_PORT=587
MAIL_USERNAME=your@email.com
MAIL_PASSWORD=yourpassword
MAIL_ENCRYPTION=tls
MAIL_FROM_ADDRESS=noreply@yourdomain.com
MAIL_FROM_NAME="My Traffic Exchange"
Recommended mail services: SendGrid, Mailgun, Amazon SES, Postmark. Avoid using your shared hosting SMTP for high-volume sending — transactional email services have better deliverability.
After updating .env, run php artisan config:clear to apply the changes.
Step 5: Review Credit Settings
Navigate to Settings → Credits.
Key settings to review:
| Setting | Description | Default |
|---|---|---|
| Signup bonus (manual credits) | Credits awarded when a member joins | 100 |
| Signup bonus (auto credits) | Auto surf credits on signup | 0 |
| Signup bonus (popup credits) | Popup surf credits on signup | 0 |
| Points signup bonus | Points awarded on signup | 50 |
| Manual surf ratio | Credits earned per N sites viewed | 1 per 2 views |
| Auto surf ratio | Credits earned per N auto surf views | 1 per 2 views |
| Popup surf ratio | Credits earned per N popup views | 1 per 2 views |
These defaults are also configurable in .env — see .env Reference.
Step 6: Review Anti-Cheat Settings
Navigate to Settings → Anti-Cheat.
The script ships with sensible defaults. For a new site, review:
- CAPTCHA — enabled by default, shows every 15 views. The adaptive system will show it more frequently for suspicious members.
- VPN detection — enabled by default, warns members using VPNs (does not ban by default)
- Fingerprinting — enabled by default, helps detect multi-account abuse
- Max cheat score — members reaching 100 are flagged for review
For most new sites, the defaults are appropriate. Adjust thresholds once you understand your member base.
See Anti-Cheat Configuration for full details.
Step 7: Set Your Admin Panel Path (Security)
Change the default /admin path to something less predictable:
In .env:
TE_ADMIN_PATH=myadminpath
Run php artisan config:clear and php artisan route:cache after changing this. Your admin panel will now be at https://yourdomain.com/myadminpath.
You’re Ready
Once these steps are complete, your site is configured for basic operation. Continue with the Going Live Checklist before opening your site to members.


Screenshots