Getting Started — Quickstart in 30 Minutes
This guide skips the detail. Follow these four steps in order and you will have a live traffic exchange in about 30 minutes. Each step links to a full guide if you need more depth.
Step 1: Activate Your License (2 min)
Your license key is in your purchase confirmation email from trafficexchangescript.com. It looks like this:
XXXX-XXXX-XXXX-XXXX
You do not need to do anything with it yet — the installer will ask for it in Step 2. Keep the email open.
If you cannot find the email: Log in at trafficexchangescript.com → My Account → Orders → your order → License Keys.
Full details: License Activation
Step 2: Install on cPanel (15 min)
What you need before you start:
- A hosting account running PHP 8.3 or higher
- Ability to create a MySQL database in cPanel
- A domain or subdomain pointed at your hosting
The short version:
-
Create a MySQL database. In cPanel → MySQL Databases, create a database and a user, grant the user All Privileges on that database. Write down the full database name, username, and password (cPanel prefixes these with your account name).
-
Upload and extract the script. In cPanel → File Manager, create a folder above
public_html(e.g./home/youraccount/traffic-exchange/). Upload the script ZIP and extract it there. -
Point your domain to the
public/folder. In cPanel → Domains, set the document root for your domain to thepublicsubfolder of the script (e.g./home/youraccount/traffic-exchange/public). -
Set folder permissions. In File Manager, set
storage/andbootstrap/cache/to 755. -
Run the web installer. Visit
https://yourdomain.com/installin your browser. Work through the 7-step wizard: - Step 1: Requirements check — fix any red items (usually PHP version or missing extensions in MultiPHP Manager)
- Step 2: Enter your database name, username, and password
- Step 3: Set your site name, URL, admin email, and admin password
- Step 4: Paste your license key
-
Steps 5–7: Run automatically — click Next/Verify through each
-
Set up the cron job. In cPanel → Cron Jobs, add a new job set to Every Minute with this command:
cd /home/youraccount/traffic-exchange && php artisan schedule:run >> /dev/null 2>&1Replace the path with your actual script root path.
Full guide with troubleshooting: cPanel Installation Guide
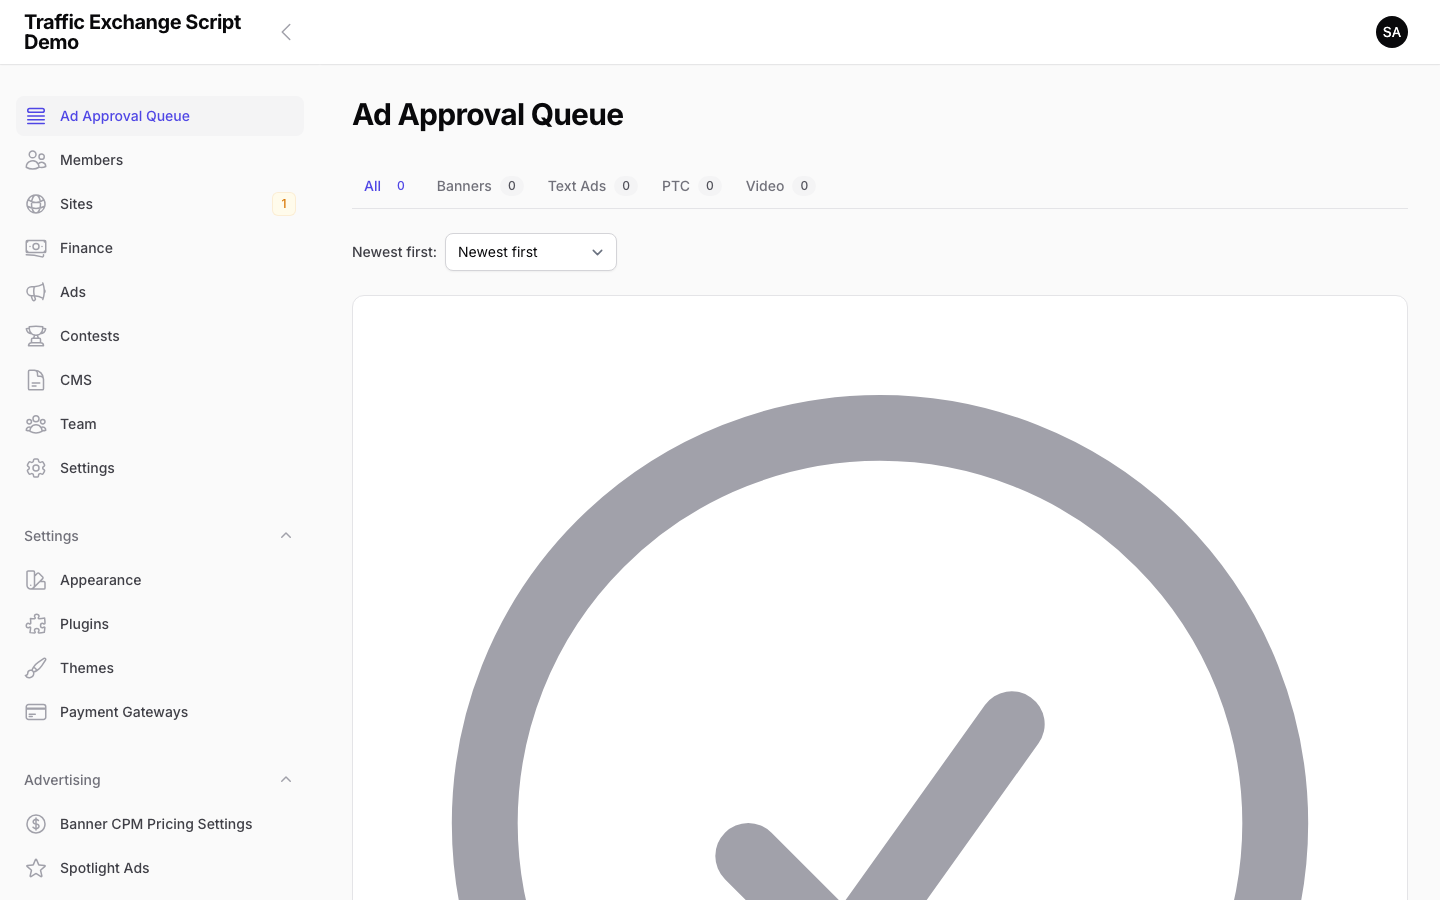
Step 3: Configure Your Traffic Exchange (10 min)
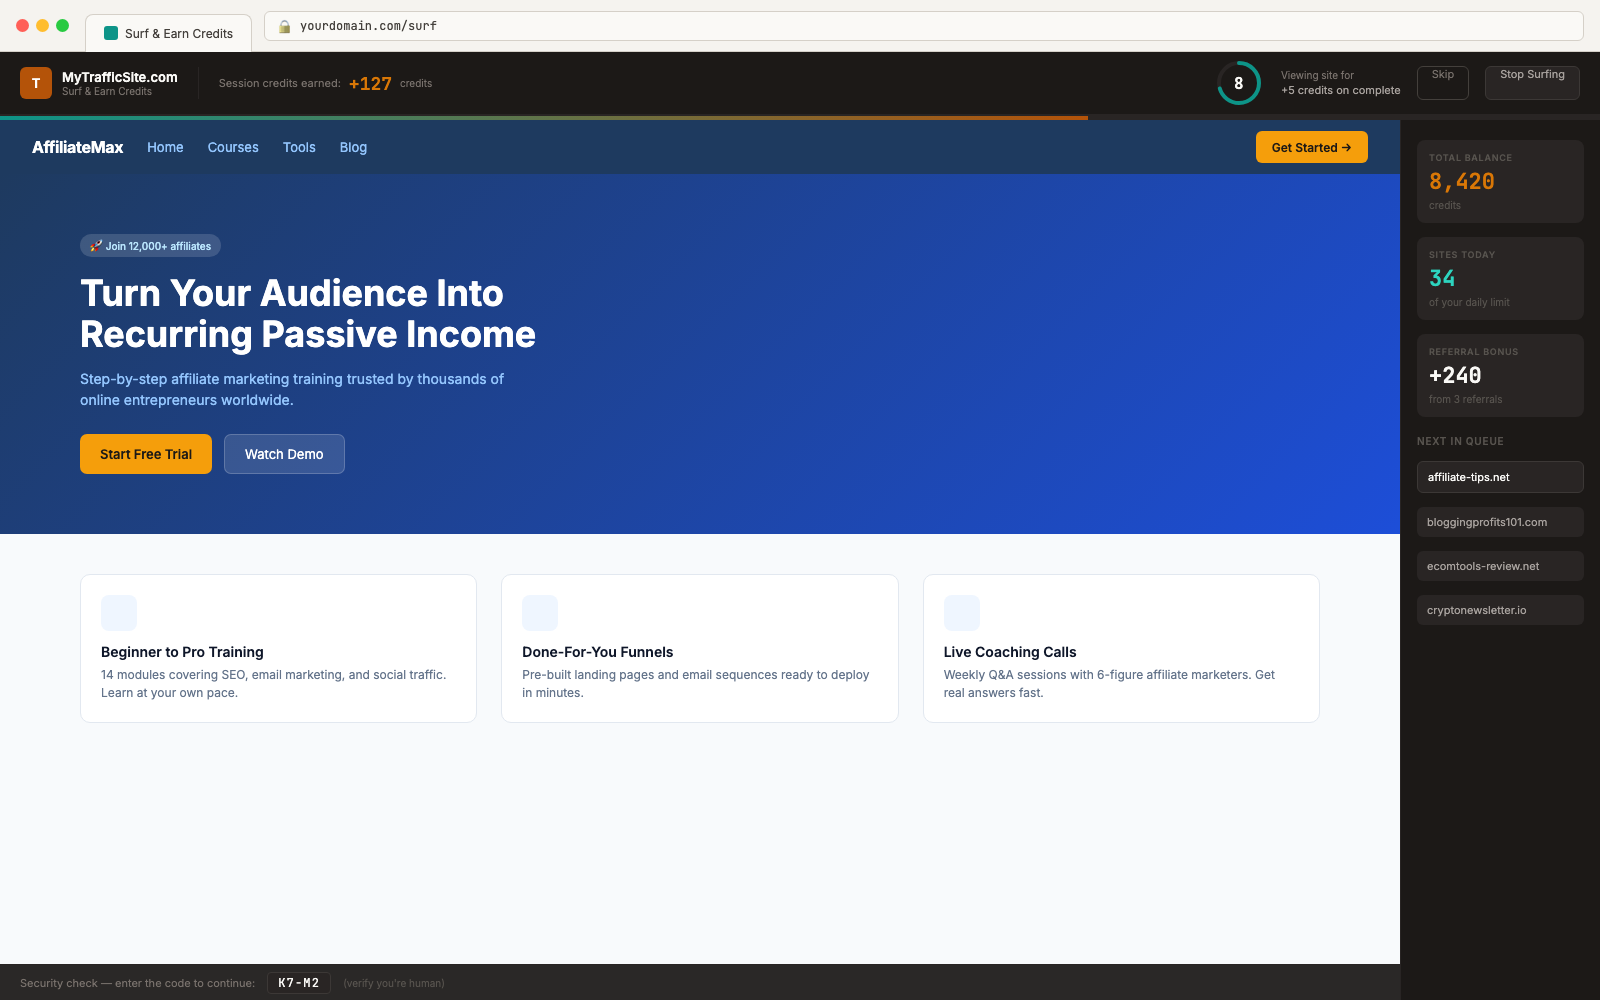
Log in to your admin panel at https://yourdomain.com/admin using the credentials you set in the installer.
Work through these essentials in order:
1. General settings — Navigate to Settings → General. Set your site name, support email, and timezone. Confirm Site Status is set to Closed while you finish setup.
2. Membership levels — Navigate to Members → Membership Levels. Review the default Free tier. Adjust the surf credit ratio and ad allowances. Add paid tiers (Silver, Gold, etc.) if you want them at launch.
3. Payment gateway — Navigate to Settings → Payment Gateways. Enable at least one gateway. For PayPal: enter your Client ID, Client Secret, and Webhook ID, then set your webhook URL in PayPal to https://yourdomain.com/webhooks/paypal. For Stripe: enter your Publishable Key, Secret Key, and Webhook Secret.
4. Email settings — Update .env with your SMTP credentials:
MAIL_MAILER=smtp
MAIL_HOST=smtp.yourprovider.com
MAIL_PORT=587
MAIL_USERNAME=your@email.com
MAIL_PASSWORD=yourpassword
MAIL_FROM_ADDRESS=noreply@yourdomain.com
After editing .env, clear the cache: delete files inside bootstrap/cache/ via File Manager (keep the folder).
Full guide: First Login & Admin Setup
Step 4: Go Live Checklist (3 min)
Before you open to members, confirm these items:
- [ ] SSL certificate installed — your site loads at
https://yourdomain.comwithout browser warnings - [ ]
APP_URLin.envis set to your HTTPS URL - [ ]
APP_DEBUG=falsein.env(never expose debug output to the public) - [ ] Cron job is active — check Cron Jobs in cPanel confirms the entry is listed
- [ ] License key is validated — check Admin → Dashboard for a green License Status indicator
- [ ] Payment gateway tested in sandbox mode — make a test transaction before going live
- [ ] Test registration flow — sign up as a member using a separate browser, verify the welcome email arrives
- [ ] Terms of Service and Privacy Policy pages created — via Admin → Pages
- [ ] Set Settings → General → Site Status to Open
Full checklist: Going Live Checklist
Troubleshooting Quick Links
| Problem | Where to look |
|---|---|
| Blank page or 500 error | cPanel Installation Guide — Troubleshooting |
| “Could not connect to database” | Check full prefixed database name and username in cPanel |
| License validation failed | License Activation |
| Cron job not running | Scheduled Tasks |
| Payment gateway errors | Payment Processing |
| Installation / setup questions | New Buyer FAQ |
First stop for any error: storage/logs/laravel.log — most issues are logged there with a specific message.
Still stuck? Email support@trafficexchangescript.com with your order number, domain, and the relevant lines from storage/logs/laravel.log.
— The Traffic Exchange Script Team
nn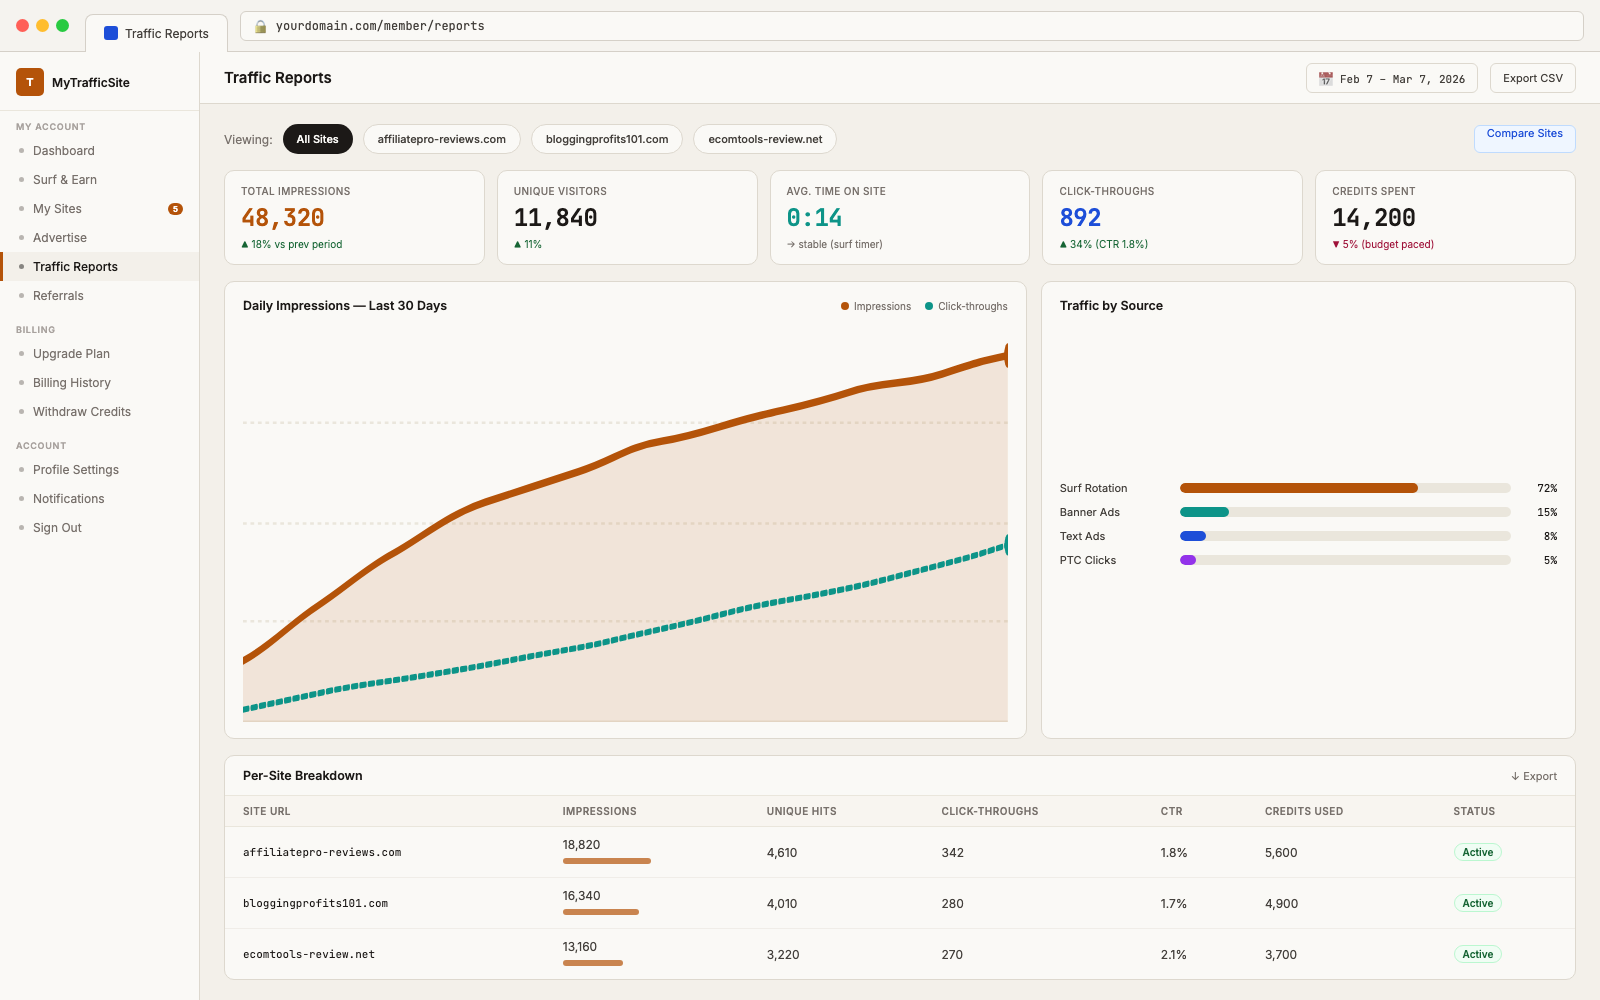
Screenshots

